Creating a Custom Choicechip Widget Using Generic in Flutter
In this post we will create a custom ChoiceChip widget with the help of generics in flutter#
In the previous post i have shown you how can you create a custom Dropdown widget using generics. That dropdown has only one dynamic field which we have accessed using Models toString() method.
but what to do if you have to use multiple fields from Generic Models class. we cannot create multiple toString() method.
In that situation we can create an abstract class which will hold all other fields getter method which is required in our Custom widget and every generic class which is getting passed must have to implement that abstract class. lets see that how to do that.
first create a custom ChoiceChipComponent using the below code.
ChoiceChipComponent.dart
class ChoiceChipComponent<T> extends StatefulWidget {
  const ChoiceChipComponent({
    Key? key,
    required this.title,
    required this.list,
    required this.selectedList,
    required this.callback,
  }) : super(key: key);
  final String title;
  final List<T> list;
  final List<T> selectedList;
  final Function(T) callback;

  @override
  State<ChoiceChipComponent<T>> createState() => _ChoiceChipComponentState<T>();
}

class _ChoiceChipComponentState<T> extends State<ChoiceChipComponent<T>> {
  List<T> listItems = [];
  @override
  void initState() {
    // TODO: implement initState
    print("Init State Called ---------------------");
    listItems = widget.list;
    print(listItems);

    super.initState();
  }

  @override
  Widget build(BuildContext context) {
    return Container(
      child: Column(
        children: [
          TextField(
            onChanged: (val) {
              setState(() {
                listItems = widget.list.where((element) {
                  if (element is ChoiceChipInterface) {
                    return element.getTitle().toLowerCase().contains(val);
                  }
                  return false;
                }).toList();
              });
            },
            decoration: InputDecoration(
                filled: true,
                fillColor: Colors.grey[200],
                hintText: "Search ${widget.title}"),
          ),
          Expanded(
            child: SingleChildScrollView(
              child: Container(
                width: double.infinity,
                child: Card(
                  child: Wrap(
                    spacing: 5,
                    runSpacing: 3,
                    children: [
                      for (var item in listItems)
                        if (item is ChoiceChipInterface)
                          ChoiceChip(
                            avatar: Checkbox(
                              value: widget.selectedList.contains(item),
                              onChanged: (v) {},
                            ),
                            backgroundColor: item.getBackgroundColor(),
                            label: Text(
                              item.getTitle(),
                              style: const TextStyle(
                                color: Colors.black,
                                fontSize: 14,

                              ),
                            ),

                            selectedColor: item.getBackgroundColor(),
                            selected: widget.selectedList.contains(item),
                            onSelected: (val) {
                              widget.callback(item);
                            },
                          ),
                    ],
                  ),
                ),
              ),
            ),
          )
        ],
      ),
    );
  }
}
This is Stateful widget. i have also added a search field which will be used to search within list of records, that’y this widget is stateful widget.
As you can see i have used Wrap with for loop to populate all the list data but you can used ListView.builder() which is more appropriate but it is totally depends upon your usecase.
Using custom widget#
for using this custom widget with list of any class you have to implement the ChoiceChipInterface actually this is an abstract class as dart do not have concept of interface.
structure of ChoiceChipInterface is like below.
abstract class ChoiceChipInterface {
  Color getBackgroundColor();
  String getTitle();
}
it hase just two method definition but you can add as much as you want totally depends on your usecase.
Now lets create a user model class and list few users using ChoiceChipComponent.
User
class Users implements ChoiceChipInterface {
  final String name;
  final String email;

  Users({required this.email, required this.name});

  @override
  String getTitle() {
    return name;
  }

  @override
  Color getBackgroundColor() {
    return Colors.white;
  }
}
As you can see i have overridden two methods from that abstract class in this users class.
Now finaly you can use it like below.
class MyWidget extends StatelessWidget {
  MyWidget({super.key});

  List<Users> users = [
    Users(email: "abc@example.com", name: "John Doe"),
    Users(email: "trilogy@example.com", name: "Dan Doe"),
  ];
  List<Users> selectedUsers = [];

  @override
  Widget build(BuildContext context) {
    return Scaffold(
      appBar: AppBar(),
      body: ChoiceChipComponent<Users>(
        list: users,
        selectedList: selectedUsers,
        title: "List of Users",
        callback: (Users v) {
          // you can call setstate for statfull widget and append v to selected users list
          selectedUsers.add(v);
        },
      ),
    );
  }
}
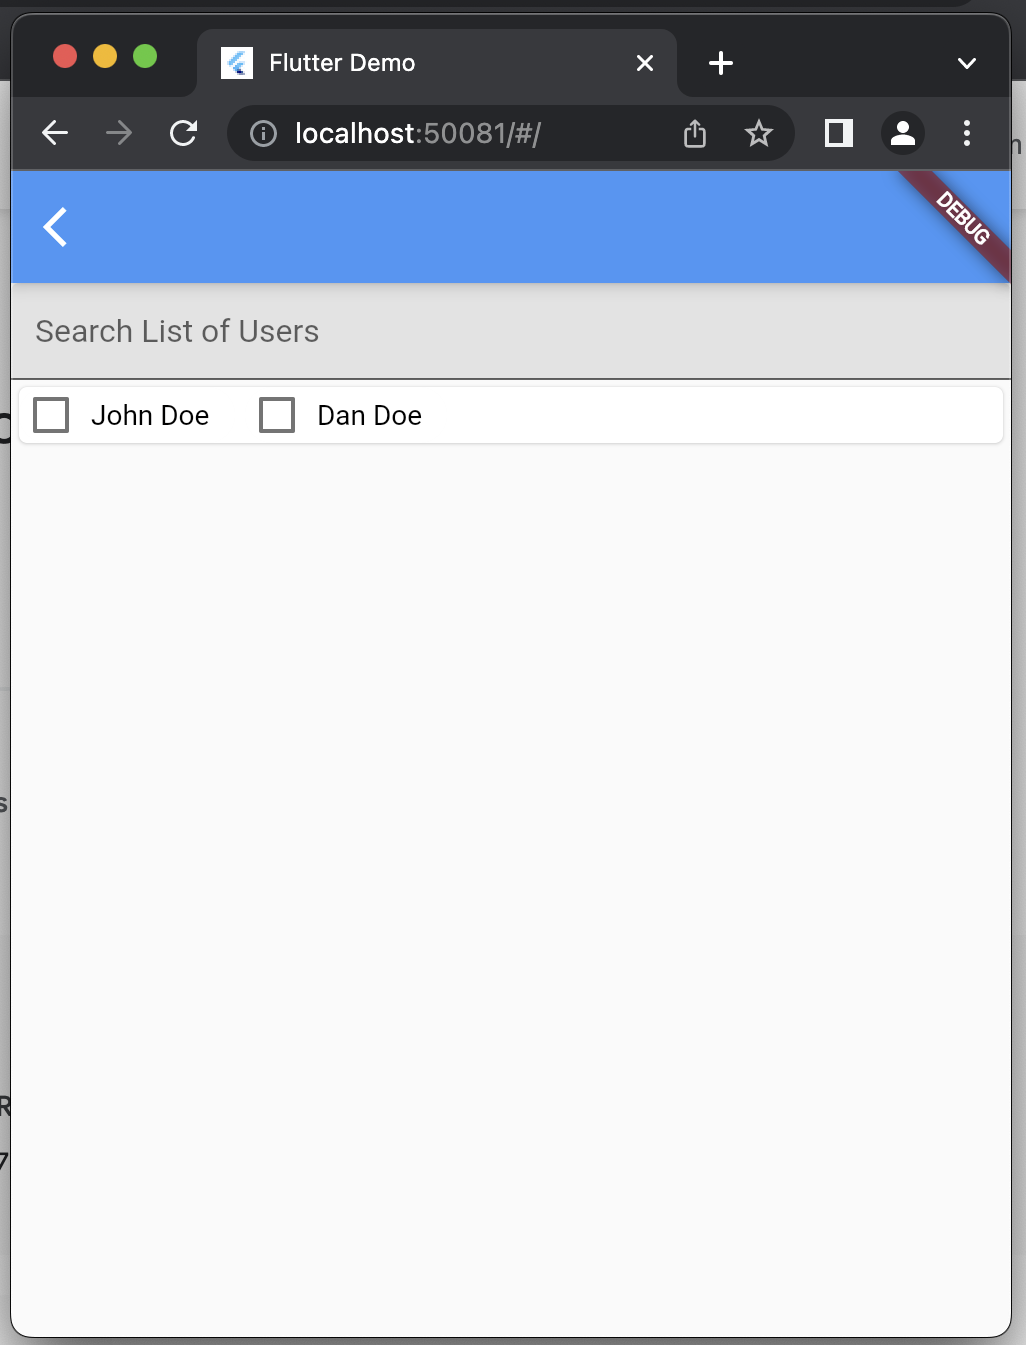
Below is the screenshot of the output screen