Installing Flutter on MacOS
installing flutter on macos#
In this post i will tell you how to install and setup flutter application using visual studio code or android studio.
first download the flutter sdk from below link or from flutter official page.
now unzip that sdk to somewhere like you have done in Download folder and rename flutter_macos_3 folder name to just flutter-sdk
now open terminal and add flutter bin to PATH.
you can do that by adding that location into .zshrc, .bashrc or .bash_profile file which is located into home folder.
i would suggest add into all three location so any app using different startup file that will also find the flutter binary path.
for editing those file run the below command.
sudo nano ~/.zshrc
it will open a nano text editor, now paste the below line at the end of that editor.
export PATH="$PATH:path_to_flutter_download/bin"
change the path_to_flutter_download to the folder location which is /Downloads/flutter_sdk.
after adding press Ctrl + O then Enter for saving it .
make sure you have updated PATH into all three location .zshrc, .bashrc, .bash_profile.
restart your pc to load the updated path.
now type below command to check if path is added or not.
which flutter
It will show the path for flutter executable.if it is not showing anything then something is wrong in setting path you have to do that again
now run flutter doctor
flutter doctor
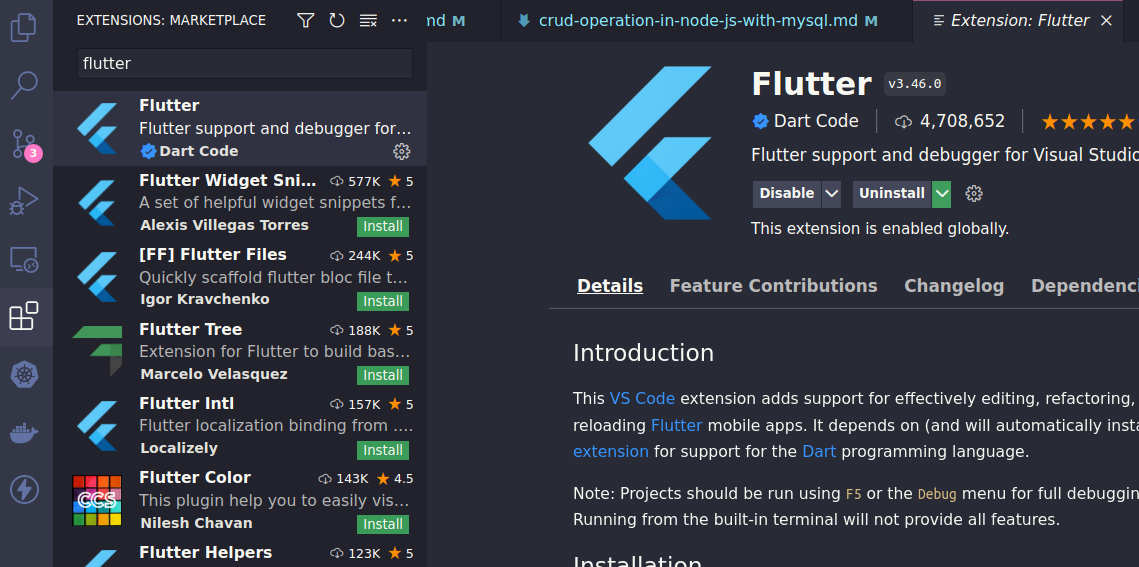
now open visual studio code and go to extension like below image and search for flutter and from search result select first one and install that as show in below image. this extension is very good for handling all the shortcuts like creating new project and running debugging openning simulator and all those things.
Creating project#
for creating flutter project in vs code press Command+Shift+P it will open command window then search flutter in that there is option to create a flutter project.
